



Silicone sealant is commonly used around windows, façade elements, exterior walls and other building joints. Yet selecting a product from a technical data sheet alone does not confirm that it will perform correctly with every project material.
Glass coatings, painted aluminum, stone treatments, cleaning products and adjacent sealants can all influence adhesion or appearance. A pre-installation compatibility program helps identify these problems before large quantities of material reach the job site.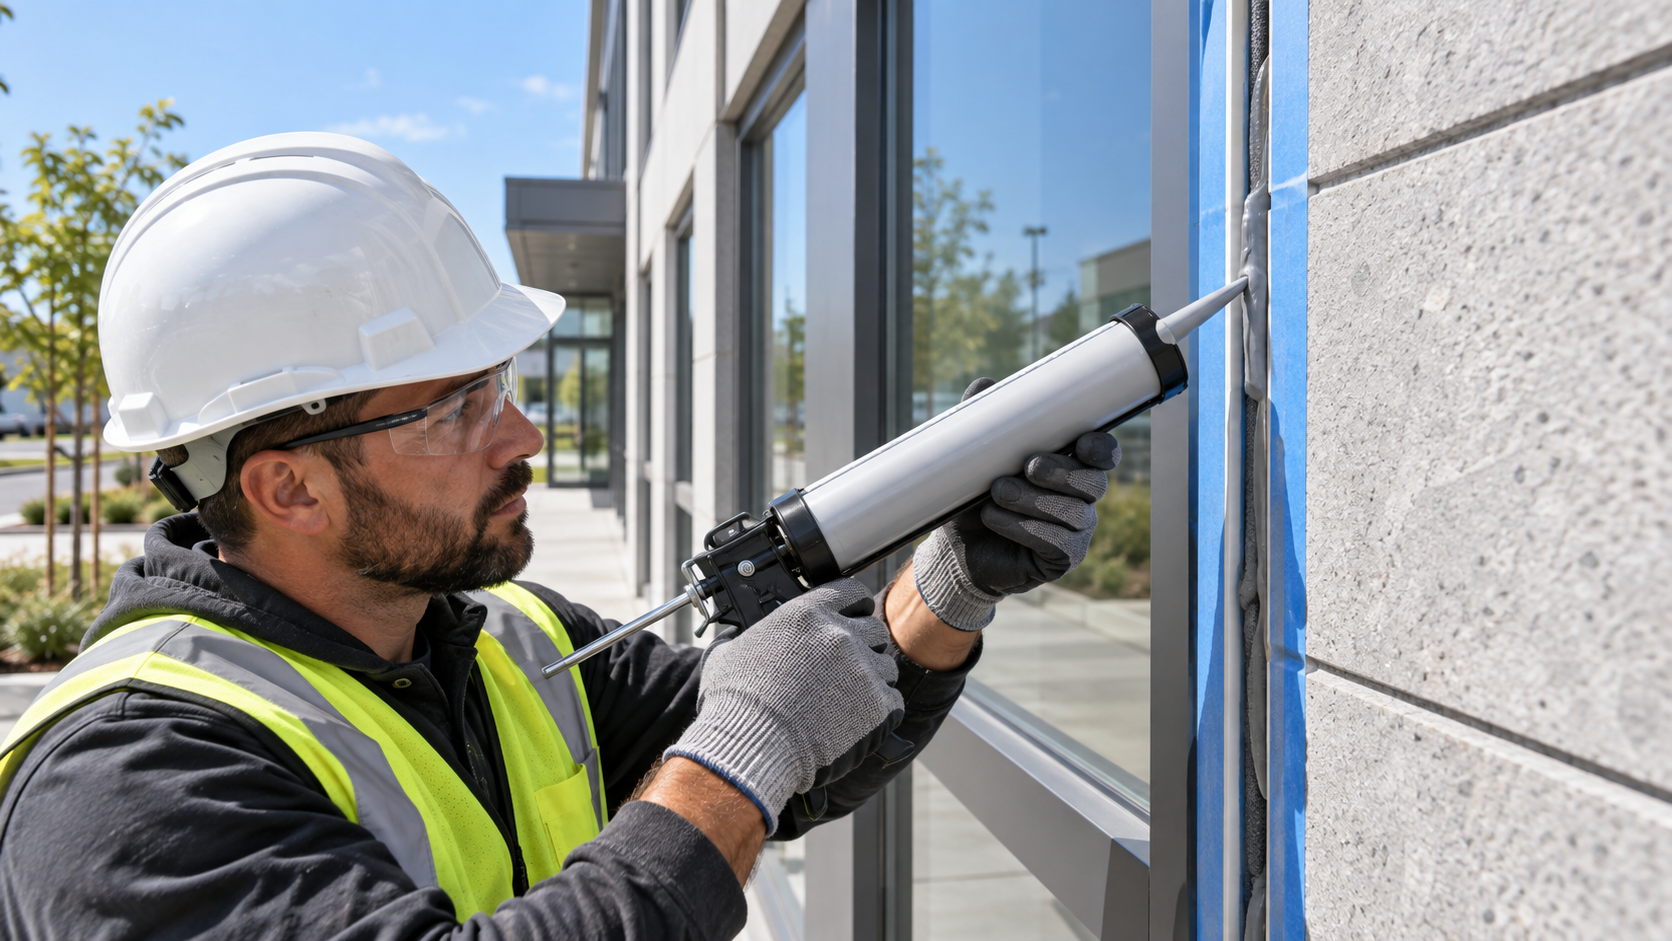
List Every Material That Can Contact the Sealant
Compatibility testing should include more than the two visible sides of the joint.
The sealant may also contact a primer, backer rod, spacer, setting block, coating, gasket or previously installed sealant. Materials that appear identical can come from different factories or use different surface treatments.
Prepare a project list that includes:
- Glass type and any surface coating
- Anodized, painted or powder-coated aluminum
- Concrete, masonry or stone
- Backer rod and accessory materials
- Cleaning solvent or surface cleaner
- Primer, if proposed
- Adjacent gaskets, membranes or sealants
Use production materials from the actual project wherever possible. Generic aluminum or glass coupons may not represent the specified finish.
Separate Adhesion from Compatibility
Adhesion and compatibility are related but different questions.
An adhesion test examines whether the cured sealant remains attached to the substrate when stressed. A compatibility assessment looks for undesirable interaction between materials, such as discoloration, softening, loss of cure or changes in appearance.
A sealant can adhere to a surface during a short test while still interacting poorly with another material in the joint system. Both aspects should therefore be reviewed before approval.
Desay Chemical describes S168 as a one-component, neutral-cure weather-resistant silicone for exterior walls, roofs, doors, windows and HVAC joints. Project-specific adhesion and compatibility should nevertheless be confirmed with the selected substrates, accessories and preparation method.
Reproduce the Proposed Surface Preparation
The mock-up should follow the same preparation procedure planned for installation.
Test substrates need to be clean, dry and free from dust, release agents, oil and loose material. However, cleaning instructions should come from the sealant or substrate supplier because an unsuitable solvent can leave residue or affect a coating.
Prepare separate samples when comparing different procedures, such as:
- Cleaned substrate without primer
- Cleaned substrate with the recommended primer
- Alternative cleaning methods approved by the supplier
- Different production batches or surface finishes
Record how each coupon was prepared. Without that record, a successful result cannot be reproduced reliably on site.
Make and Condition Representative Samples
Apply the sealant with a joint shape and bead thickness suitable for the evaluation method. Avoid making a very thin smear that does not represent a real joint.
Allow samples to cure under the conditions and for the period specified in the relevant product documentation. Temperature and humidity can affect the curing of one-component moisture-reactive silicone, so samples prepared under very different conditions should not be compared directly.
Do not treat surface skin formation as proof that the full sealant section has cured. The interior may require additional time, particularly in a deeper joint.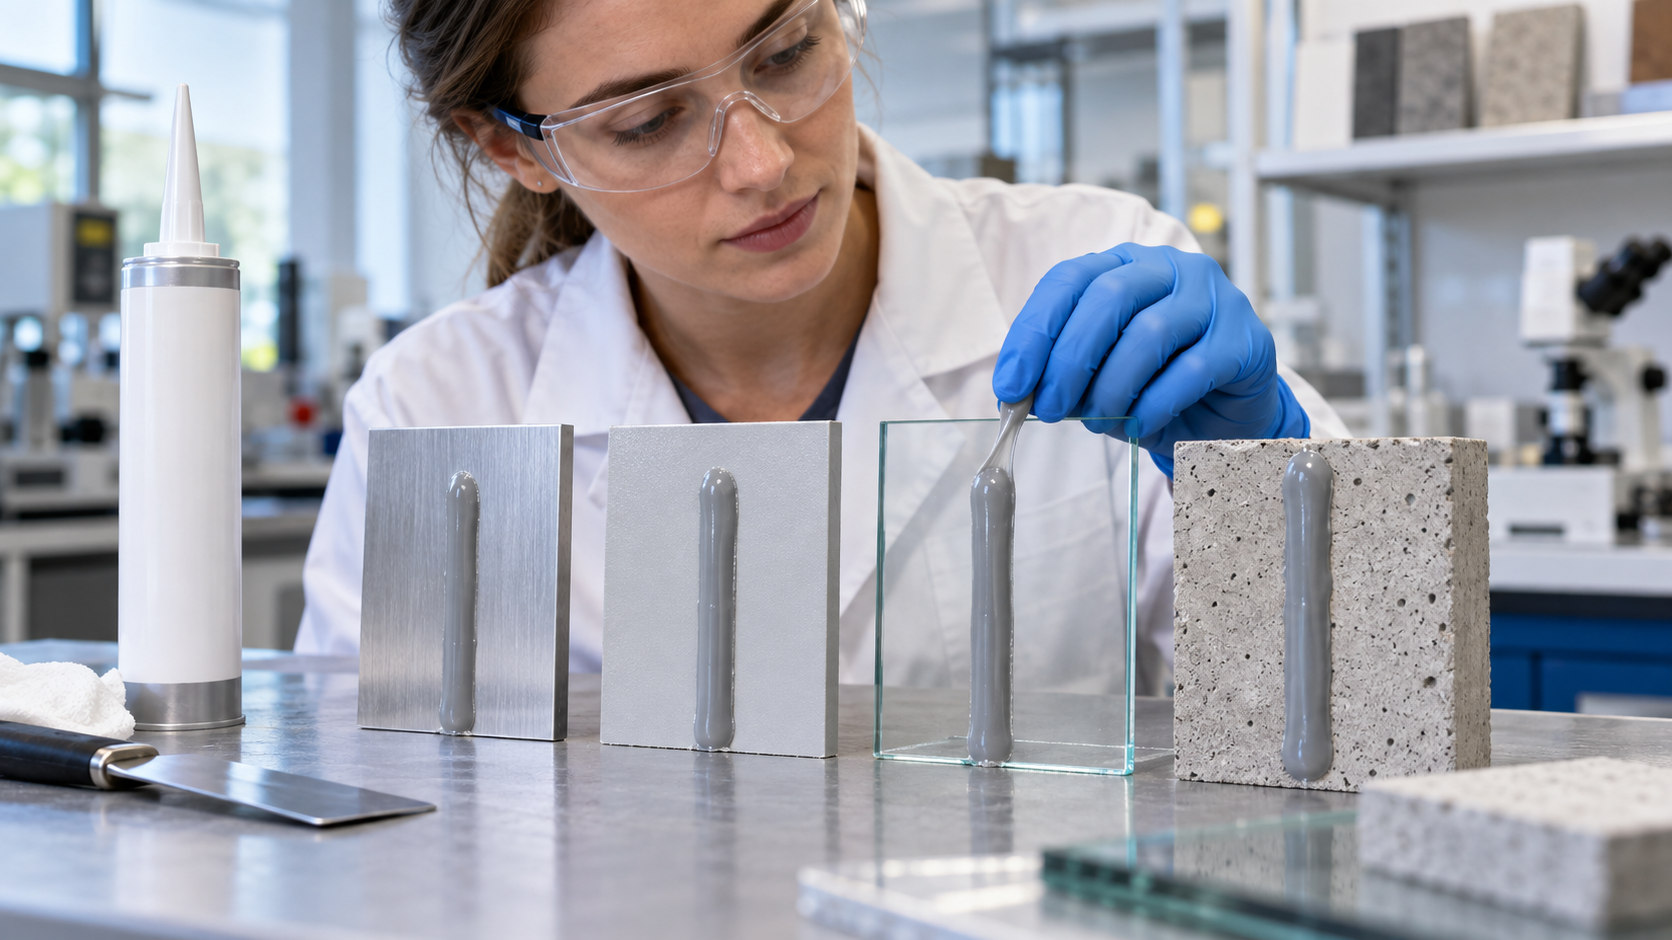
Inspect the Mode of Failure
After conditioning, pull the end of the test bead according to the agreed field or laboratory method.
If the sealant releases cleanly from the substrate, this indicates adhesive failure at the interface. If material remains attached while the sealant itself tears, the failure is cohesive within the sealant. The result should be documented with photographs and the sample identification.
The acceptance criteria must come from the project specification, sealant supplier or responsible technical authority. Avoid inventing a universal pass requirement because joint materials and service demands vary.
Build a Job-Site Quality Check
Laboratory compatibility testing does not replace installation control.
Before full application begins, prepare a site mock-up using the final materials and the actual installation team. Verify joint cleanliness, backing depth, sealant contact with both sides and tooling quality.
Retain approved samples and preparation records for comparison. If the aluminum finish, glass supplier, stone treatment or accessory material changes, review whether new testing is required.
What Buyers Should Provide
When requesting a silicone sealant recommendation, provide substrate samples, joint dimensions, expected movement, exposure conditions, required color and applicable project standards. Also identify every material that may contact the sealant.
Desay Chemical can review this information and recommend a product for preliminary evaluation. Performance claims, standards and application limits should be confirmed against the current technical documentation for the selected grade before purchase and installation.
Post time: Sep-21-2026