



A wooden picture frame may look simple, but its four miter joints require accurate cutting, controlled adhesive application and consistent clamping. Even a small gap can affect the frame’s appearance and make later finishing or handling more difficult.
For frame manufacturers, selecting an adhesive is therefore not only about general wood-bonding capability. The glue must fit the wood species, molding profile, assembly method and required production rhythm. Desay Chemical’s 842 white wood adhesive is a PVAc-based, waterborne product presented specifically for applications such as picture-frame wood bonding and splicing. Suitability for a particular frame construction should still be confirmed through production trials and the current technical documentation. 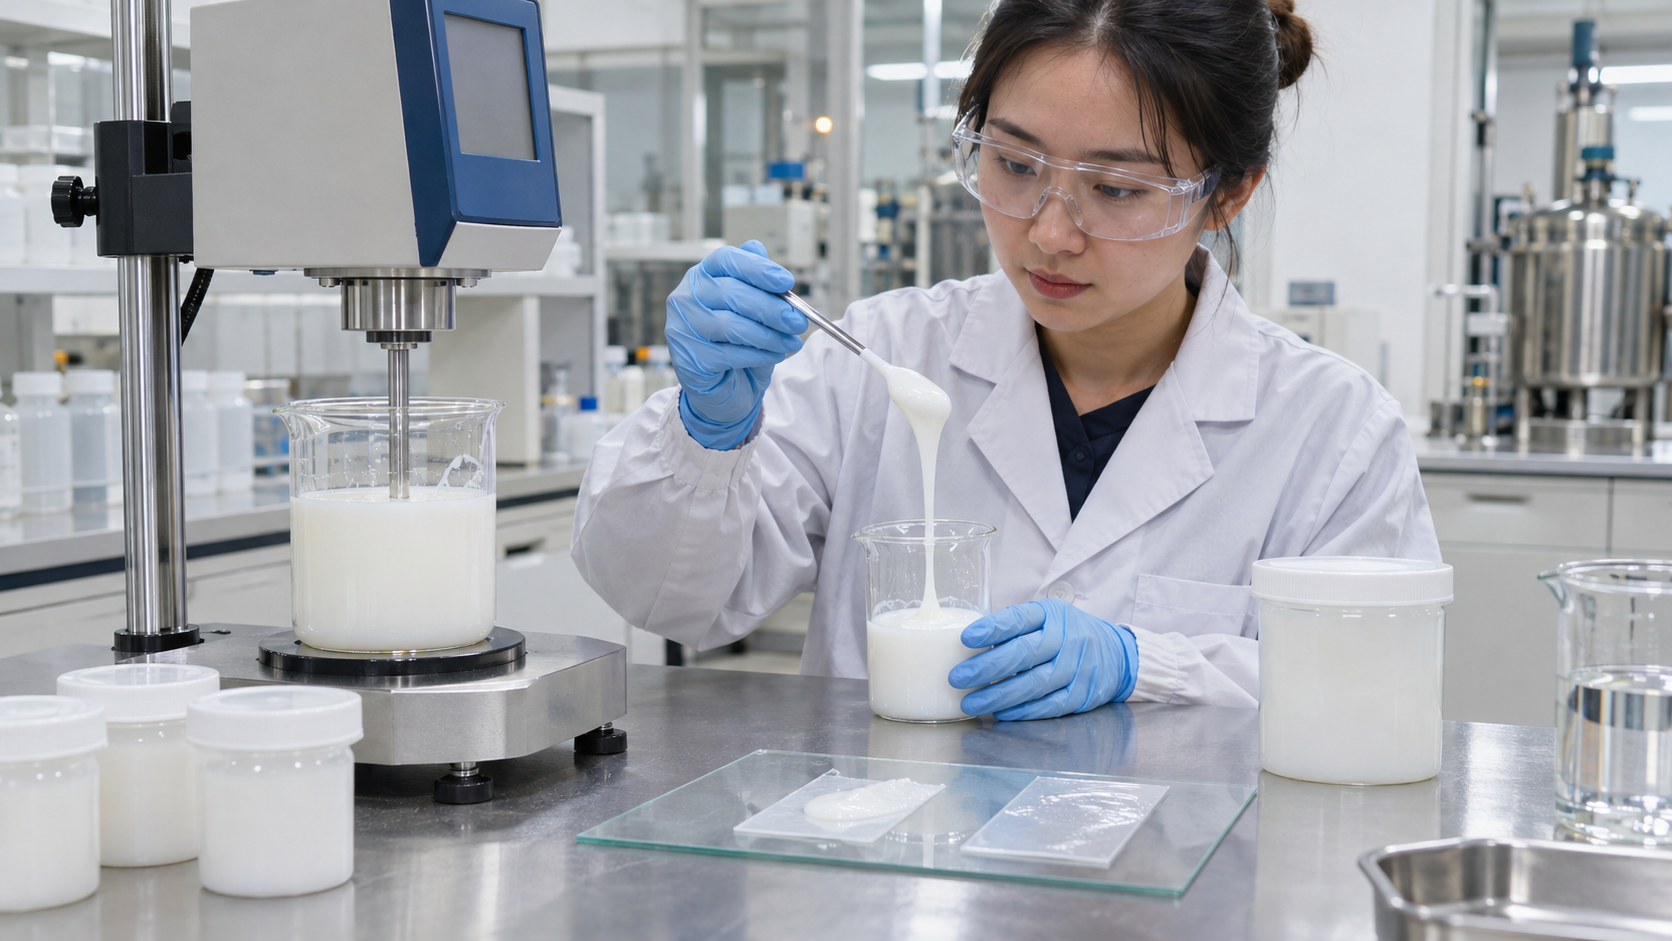
Define the Frame Construction
Start with the actual materials used in production. Solid pine, hardwood, finger-jointed molding and engineered wood profiles can absorb adhesive differently. Primed, painted, foil-wrapped or otherwise finished molding may also expose a different bonding surface from unfinished wood.
The adhesive should normally contact clean wood rather than a decorative coating unless the complete coated construction has been tested. Buyers should provide the supplier with representative molding samples, including every species, primer or finish used in the final range.
Frame size also matters. A small photo frame and a large decorative frame may place different loads on the corner joints during assembly, transport and hanging.
Prepare Accurate Miter Surfaces
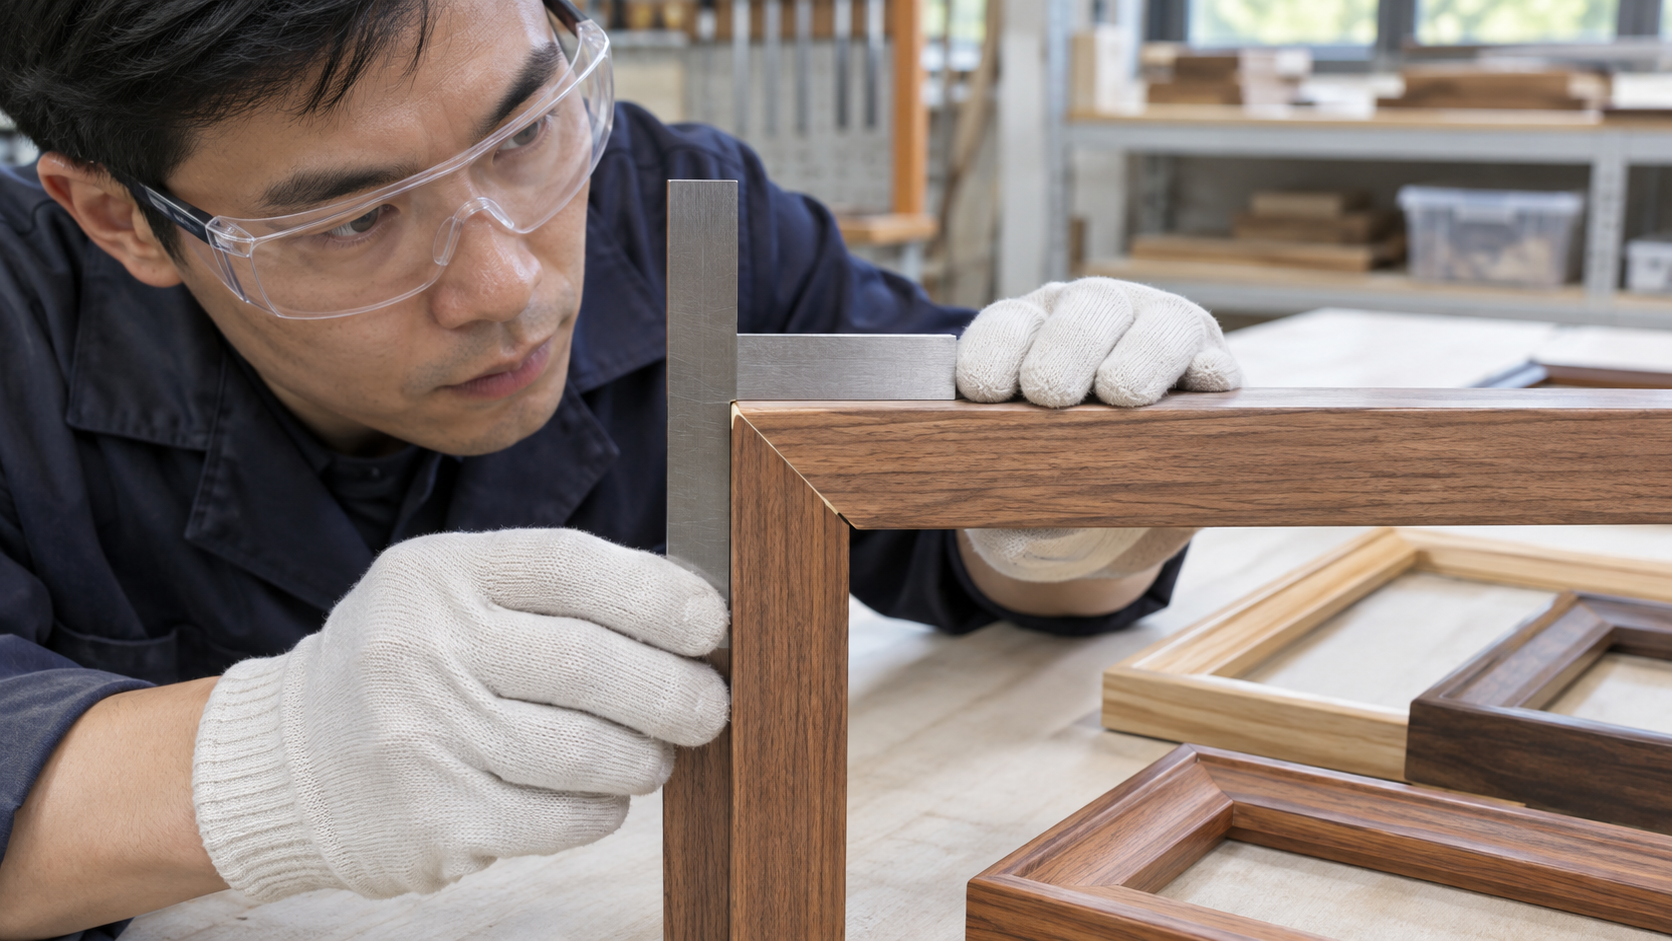
Adhesive cannot compensate for poorly cut miters. Both 45-degree faces should meet evenly across the joint without rocking or leaving an excessive gap.
Blunt saw blades, incorrect cutting angles or compressed fibers can reduce effective contact. Dust and loose particles should be removed before gluing. If molding has been stored in changing humidity, allow it to reach a stable workshop condition before cutting and assembly.
Consistent preparation makes adhesive trials more meaningful. Otherwise, a trial may appear to fail because of joint geometry rather than the glue itself.
Match Glue Application to the Production Method
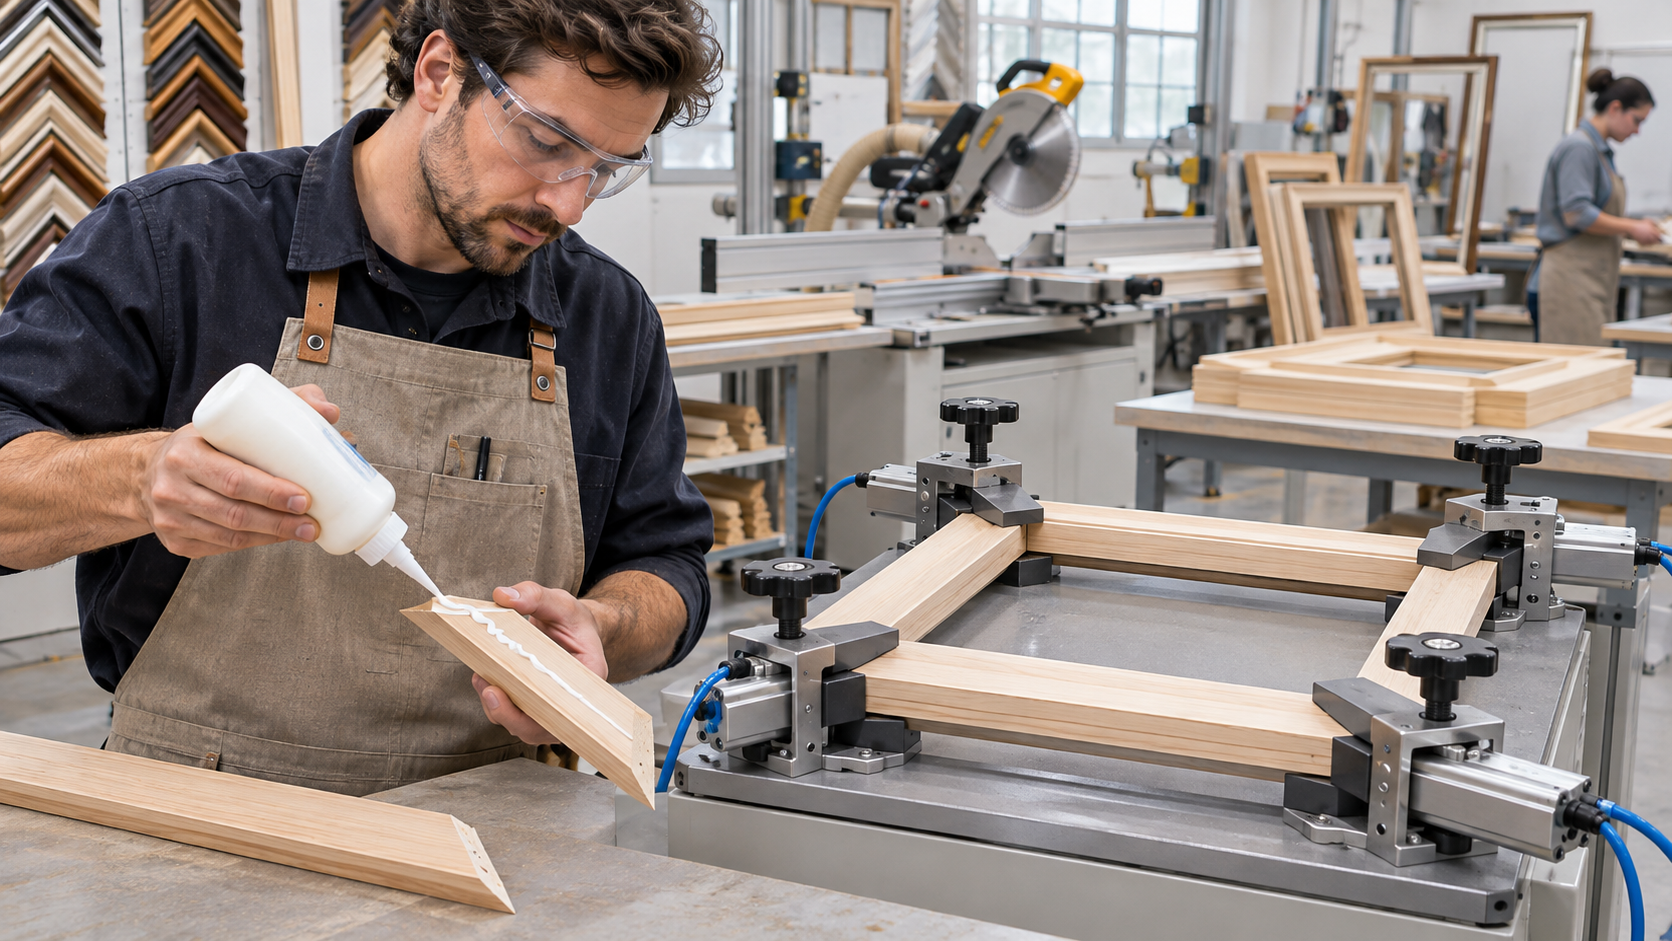
PVAc white glue can be applied manually or through suitable controlled equipment, depending on the factory setup. The goal is a continuous, even film across the bonding face.
Too little adhesive can leave dry areas. Excessive application can increase squeeze-out, create additional cleaning work and interfere with finishing. The correct quantity depends on wood absorbency, surface area and how quickly the parts are brought together.
When discussing a grade with the supplier, provide the application method, expected daily output and approximate time between glue application and clamping. Specific working time or viscosity requirements must be confirmed against the selected product’s current technical data sheet.
Control Assembly and Clamping
After application, the four frame sections should be aligned and clamped while the adhesive can still wet both surfaces. Clamp pressure should close the joint and maintain alignment without deforming the molding or forcing most of the adhesive out.
Pneumatic four-corner clamps can improve repeatability, but their settings still need to match the molding profile. A deep decorative profile may require different support from a flat frame.
Do not remove frames from the fixture solely according to a generic time estimate. Establish a handling schedule through trials under normal workshop conditions, following the instructions for the exact adhesive grade.
Evaluate Complete Frames
A useful evaluation goes beyond pulling two wood blocks apart. Assemble complete frames at normal production speed and inspect:
- Joint closure and corner alignment
- Squeeze-out and ease of cleaning
- Handling stability after unclamping
- Movement during sanding or finishing
- Joint appearance after conditioning
- Performance during packing and transport simulations
Inspect frames made at the beginning, middle and end of a production shift. This helps identify changes caused by application habits, open-container exposure or workshop conditions.
Record the Approved Process
Once a combination performs satisfactorily, document the molding material, cutting setup, application quantity, assembly interval, clamp settings and evaluation time. Incoming wood and molding changes should trigger a confirmation trial.
The adhesive supplier should also receive details of any special performance requirement. Do not assume resistance to moisture, heat or outdoor exposure without supporting data and finished-frame testing.
Post time: Nov-17-2026